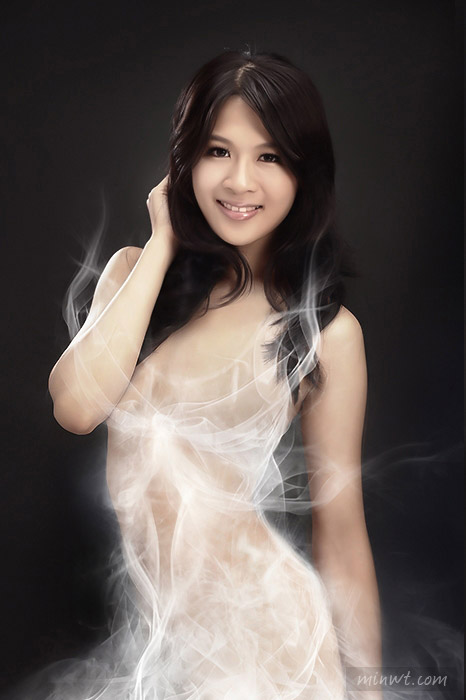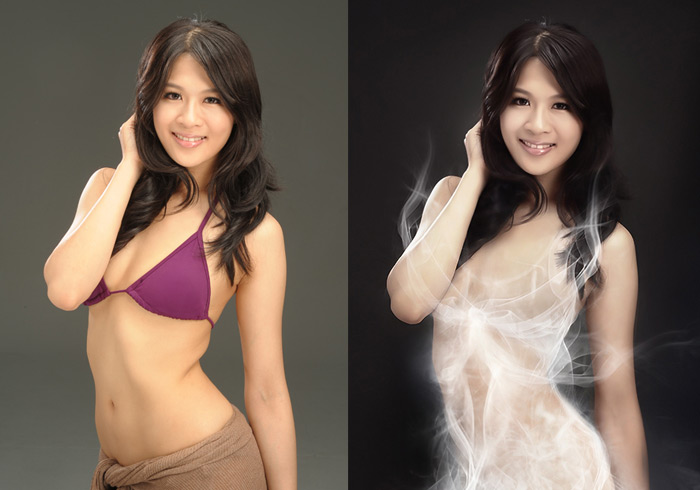
煙霧衣:
使用版本:Photoshop CS3+
操作難易:中
實用性質:★★★★
操作難易:中
實用性質:★★★★
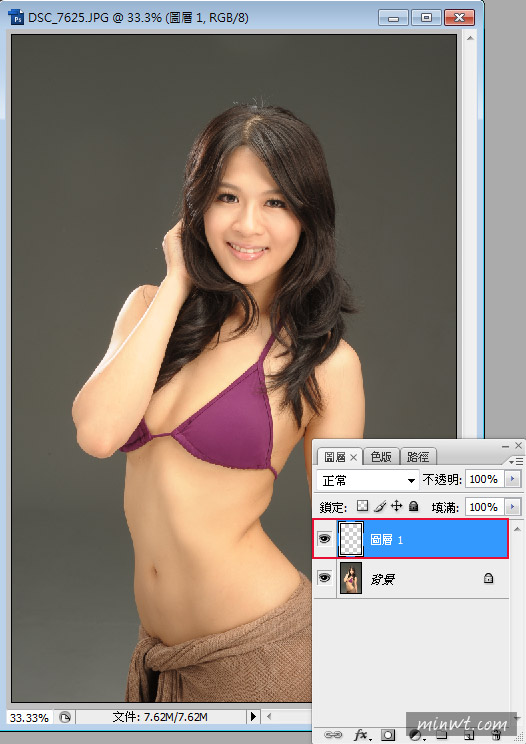
Step1
開啟照片後,再新增一個新圖層。
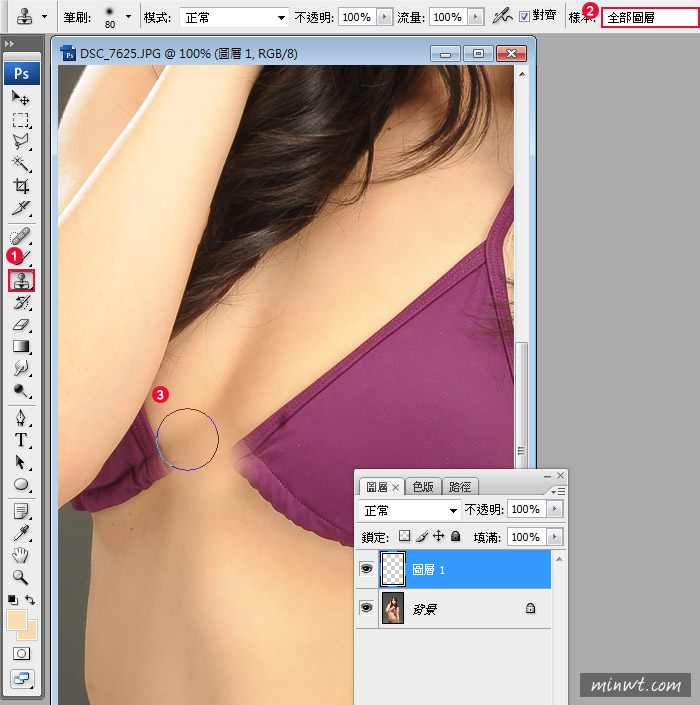
Step2
嘿嘿!第一步要做的是,就是把將泳衣給脫掉,接著選擇仿製印章工具,再將樣本選擇全部圖層。
Step3
礙於尺度問題,因此當脫掉後,就改穿上NU BRA。
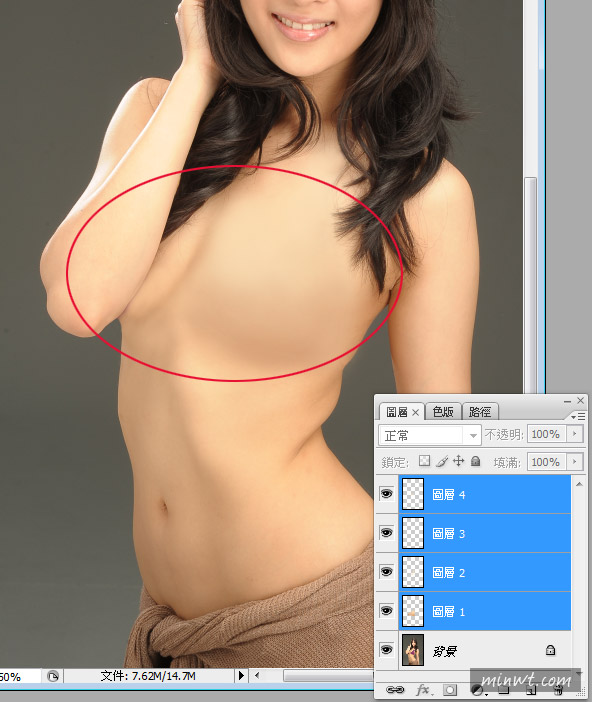
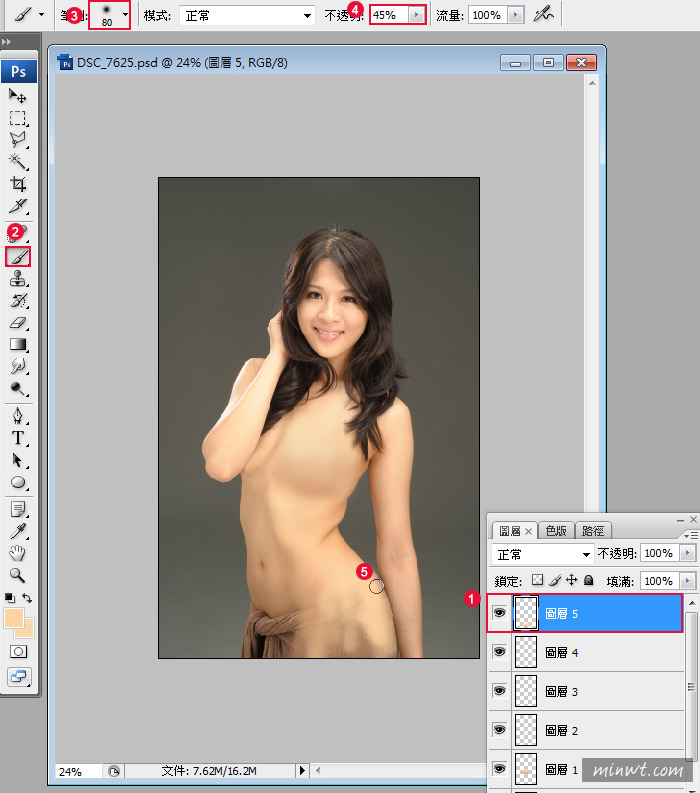
Step4
接著再用筆刷工具,並將筆刷設為柔邊筆刷,以及調整不透明度,將下方的衣服也給脫掉。
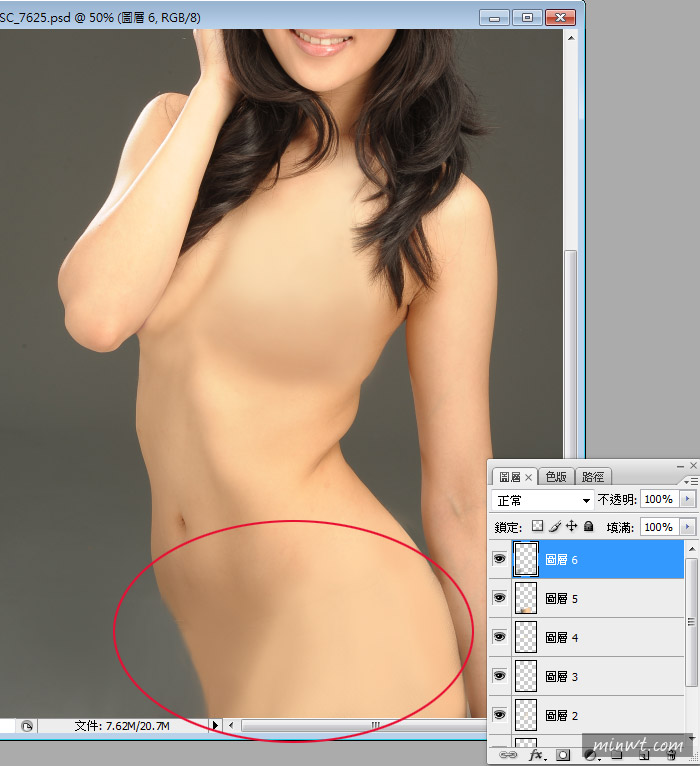
Step5
鏘~鏘~~完成。
Step6
將背景再複製一份。

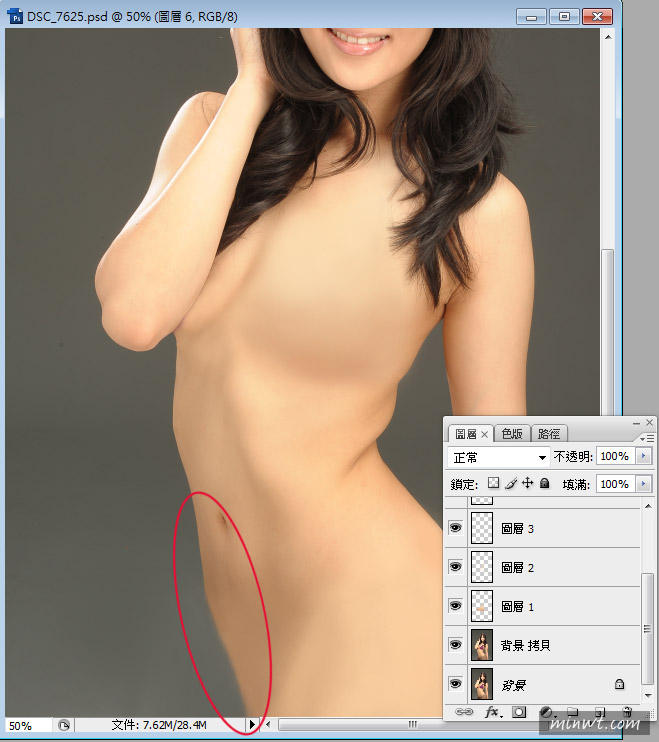
Step7
利用液化特效,將下方的小肚子向內推一些。
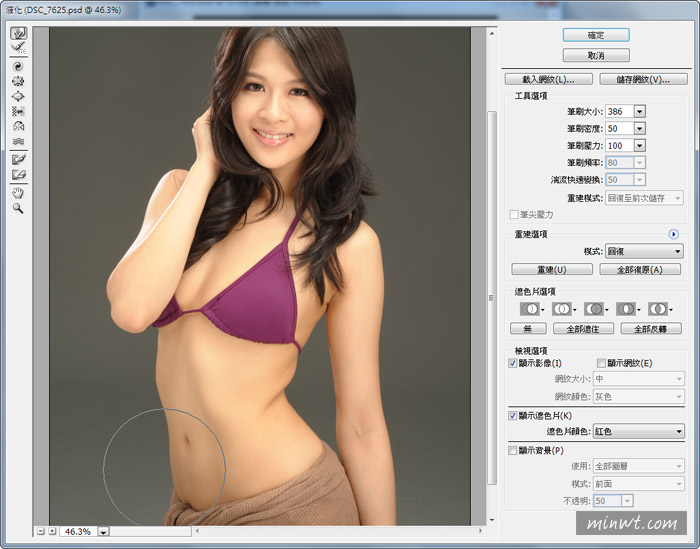
Step8
這樣就變得更苗條啦!
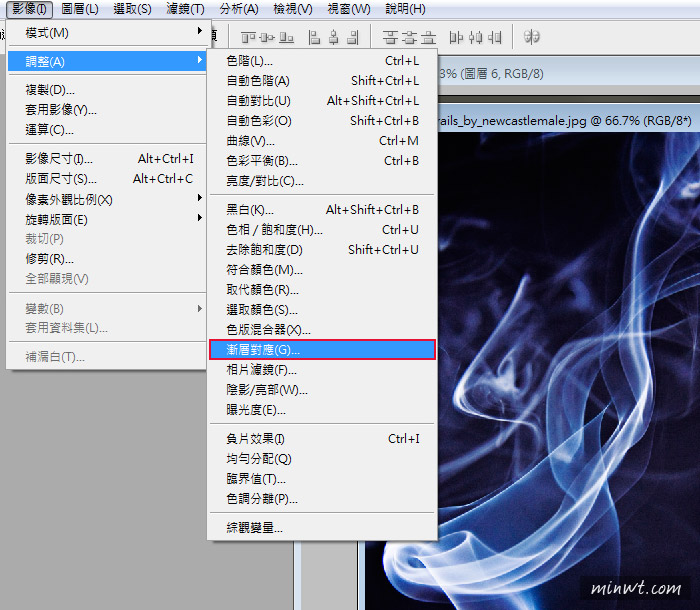
Step9
接著將下載回來的煙霧開啟,由於下載的煙霧各種顏色都有,所以第一步要將它變成灰階,因此這時可選擇漸層對應。
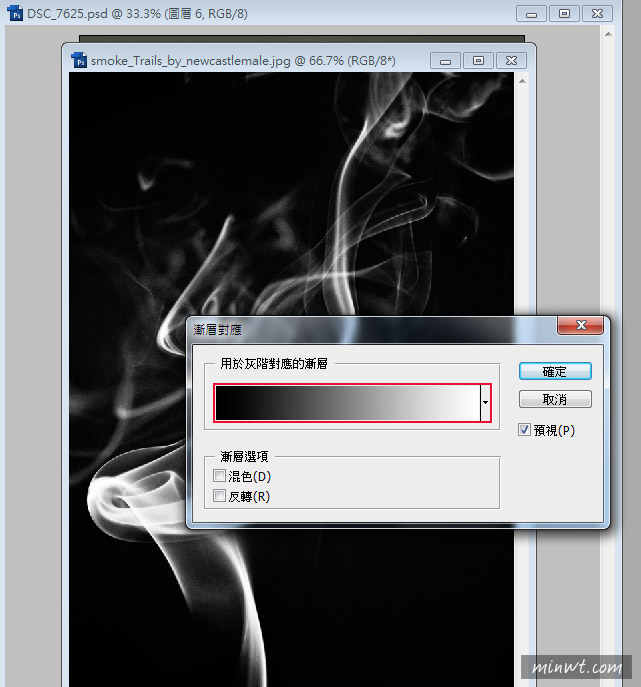
Step10
再選擇從黑到白。
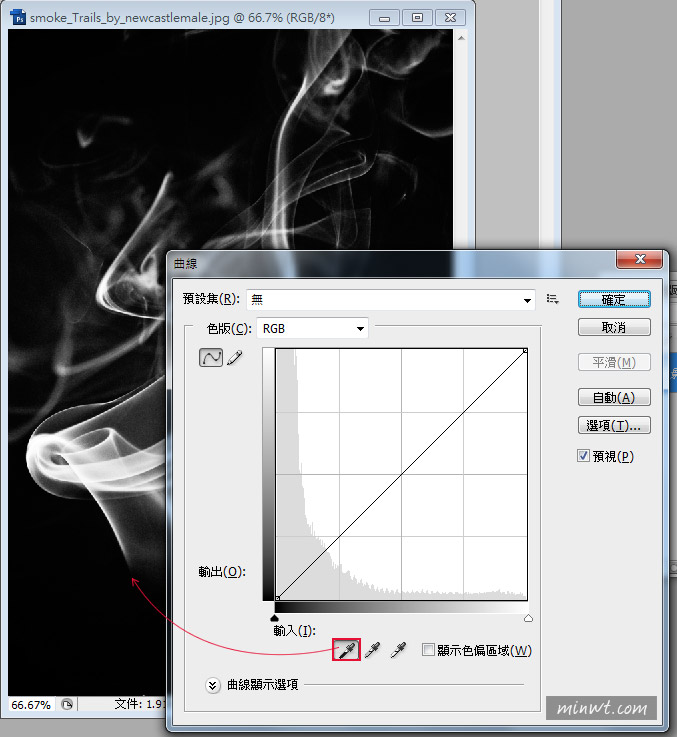
Step11
接著開啟曲線調整面板,選擇黑色滴管,對著畫面非黑的地方點一下。
Step12
完成後,再將煙拉到馬豆的視窗中。

Step13
將圖層混合模式設為濾色。
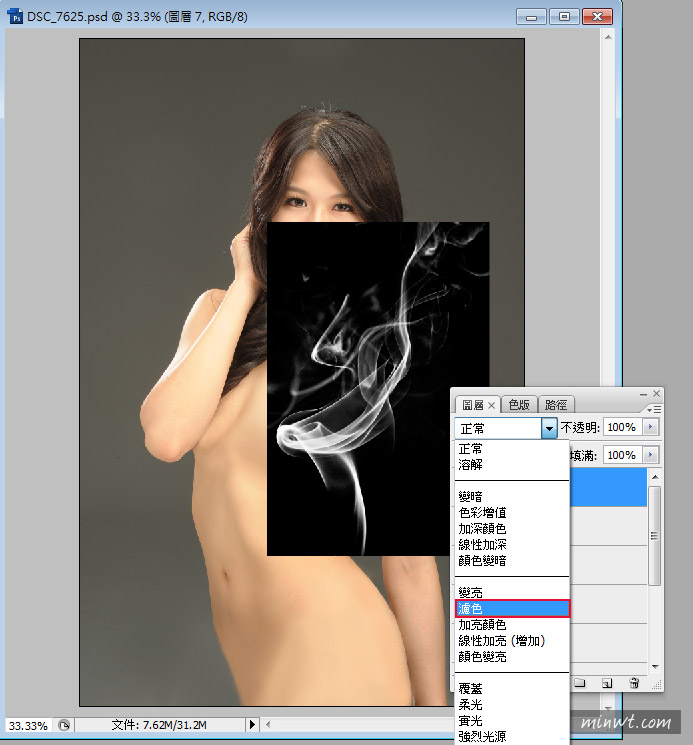
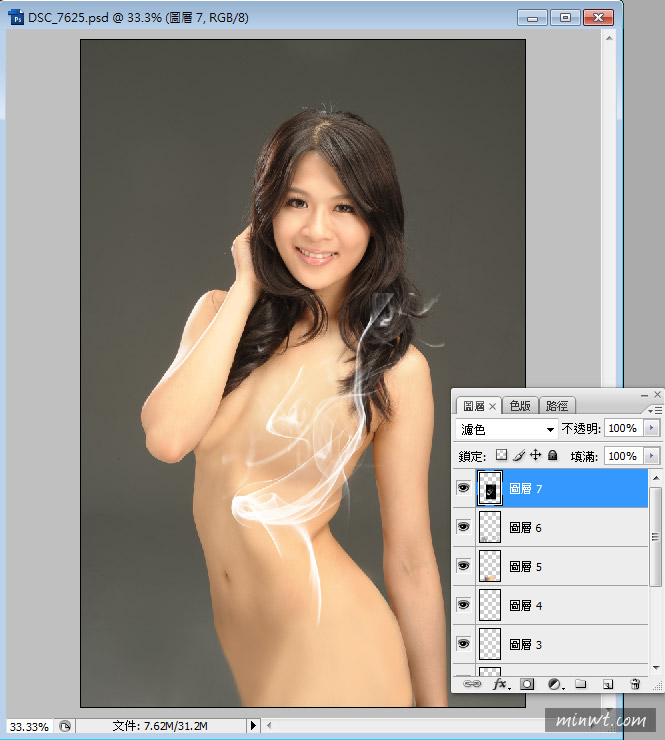
Step14
哈~這樣煙就被保留下來啦!!完全不用去背,是不是超ez的。
Step15
接著下來就重覆以上步驟,就可拼出一件煙霧衣啦!
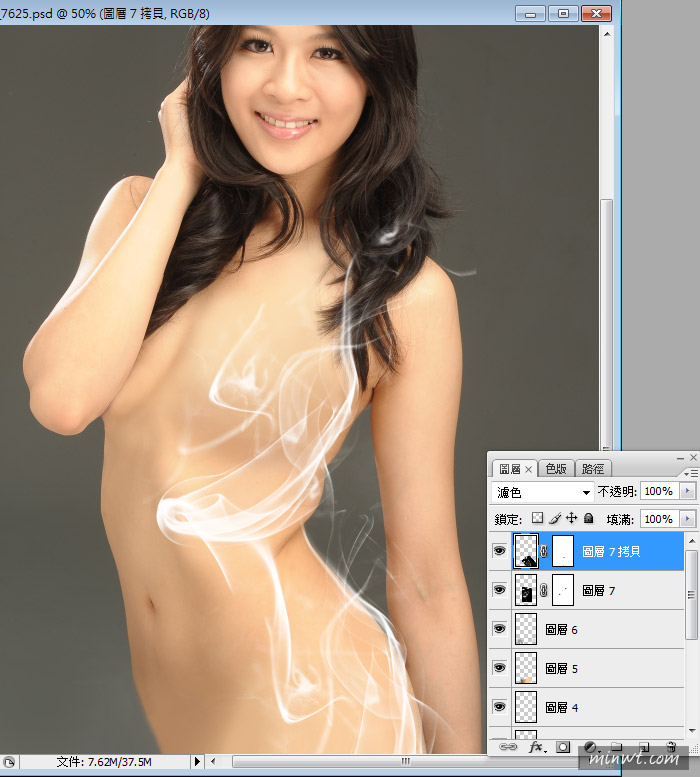
Step16
哈~完成如下,原來這就是人家說的美到冒煙啦!