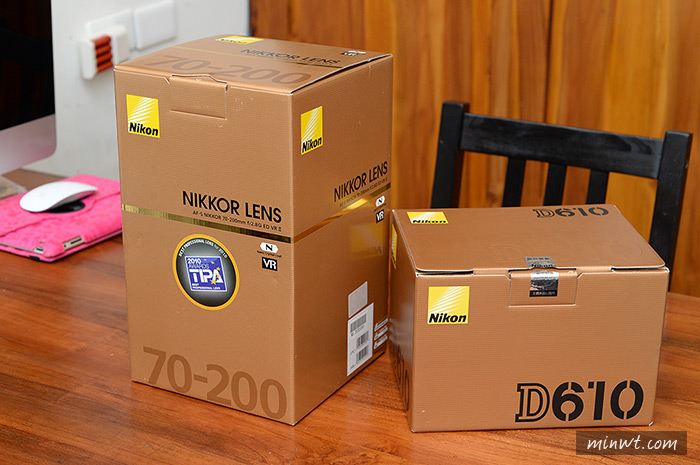
Photoshopn還原真實色彩:
使用版本:Photoshop CS3+
操作難易:易
實用性質:★★★★★
操作難易:易
實用性質:★★★★★
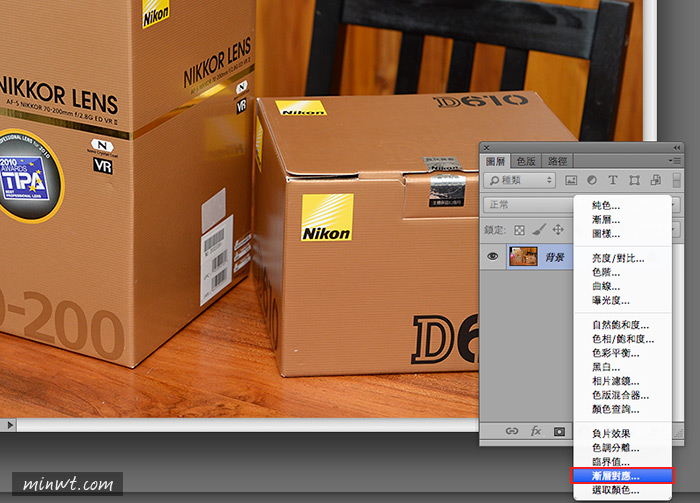
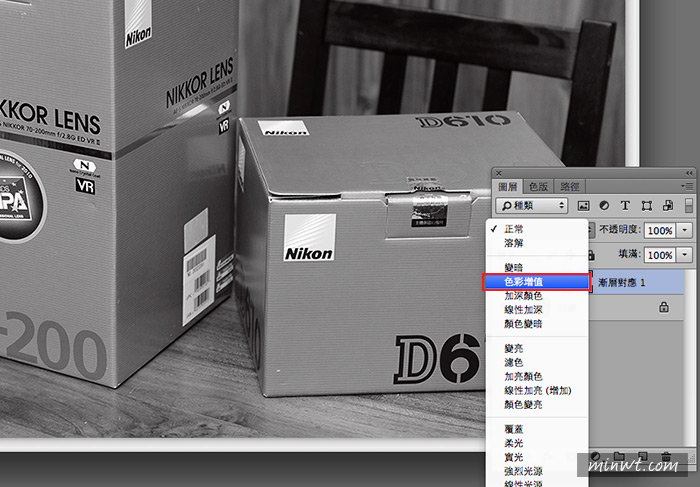
Step1
開啟圖檔後,新增一個漸層對應的調整圖層。
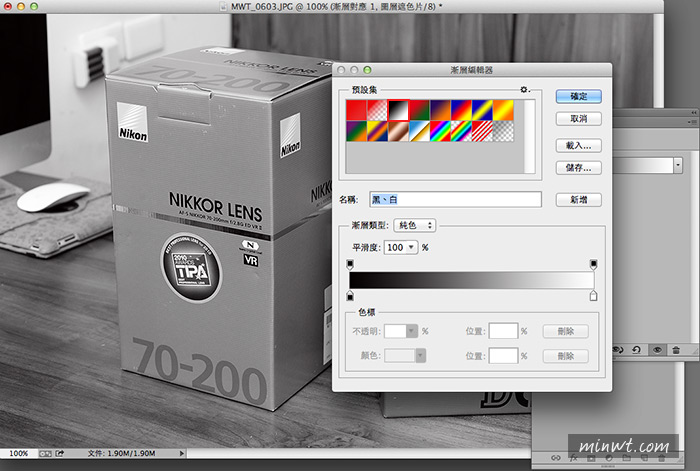
Step2
接著點黑到白的灰色漸層。
Step3
完成後,再把圖層混合模式,設為色彩增值。
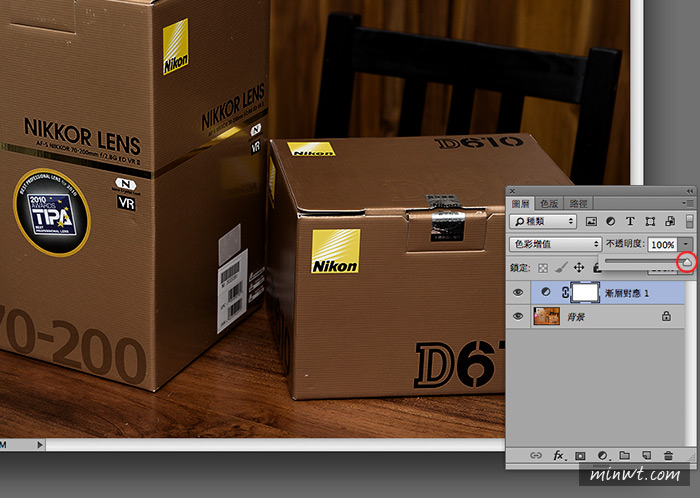
Step4
這時畫面就像加了黑色,整體的色彩與亮度,都會變暗許多,這時再利用不透明度,調整照片的彩度與明度。
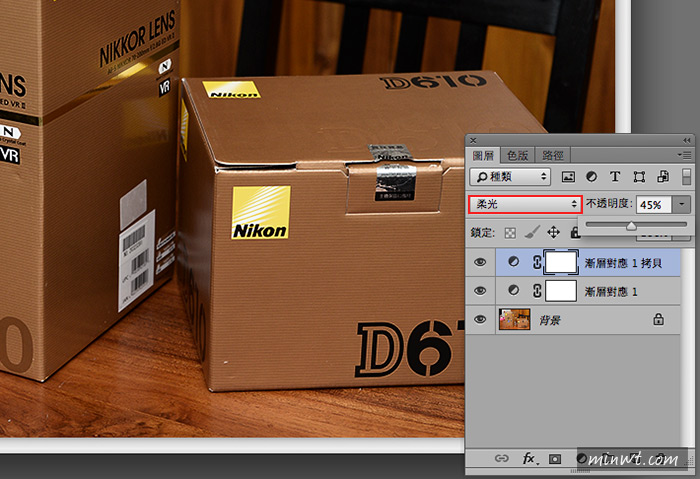
Step5
這時Nikon的外包裝盒的色彩就回來了,同時會發現到,畫面中的LOGO圖示則不會受到影響,接著再複製一層,並將圖層混合模式設為柔光,加一點亮度對比。
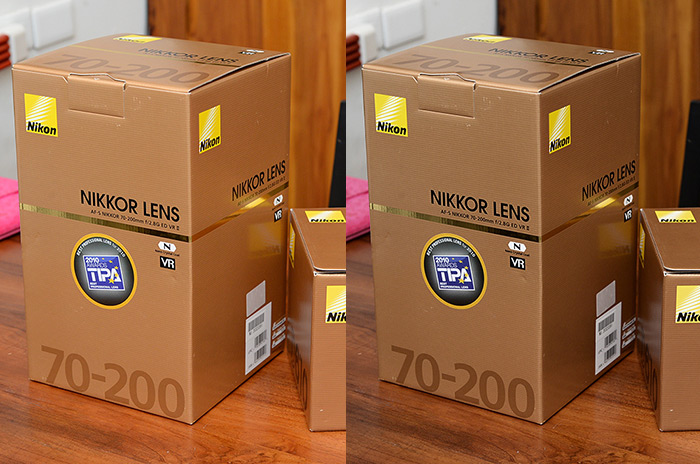
Step6
從下方的比較圖中,可清楚看到,修正後的色彩更自然些,Nikon外包裝盒,與原來的更接近,不像原先的色彩那麼的豔。